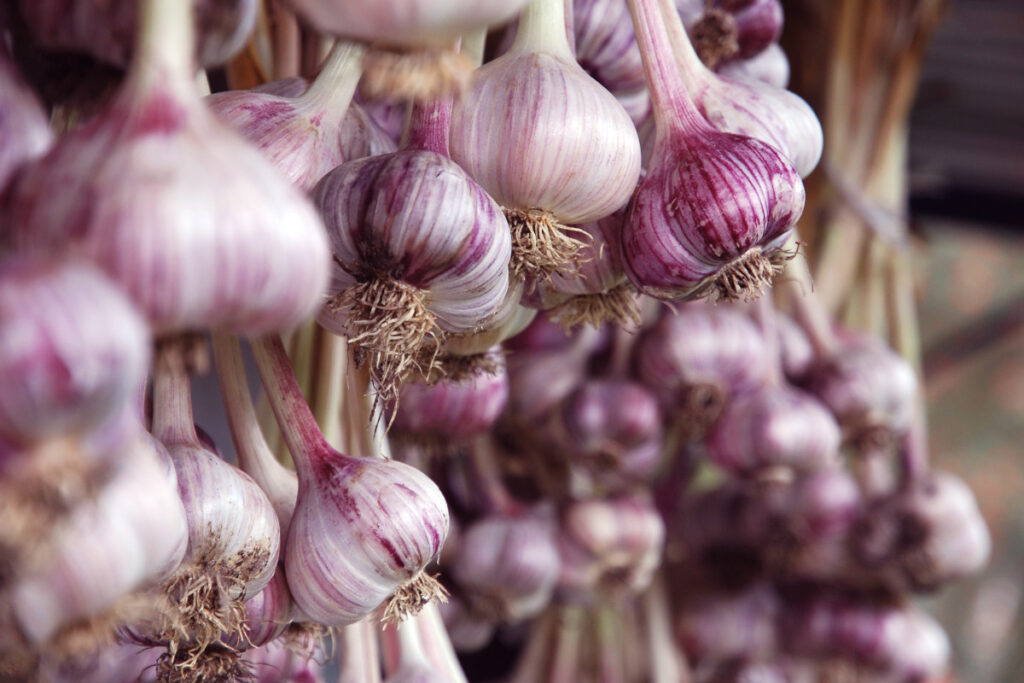
You’ve grown the garlic. It’s up out of the ground. Do you put it directly in the refrigerator? Or maybe you could store in for a few months? The correct answer is…you dry it!
Drying garlic is a great way to preserve it for long periods and ensure that you always have it on hand when you need it. In this article, we’ll cover how to dry garlic in a few simple steps.
Step 1: Harvest and Clean Your Garlic
The first step in drying garlic is to harvest the bulbs. Garlic is typically ready to harvest when the leaves start to yellow and fall over. Every set of leaves on the garlic corresponds to a layer of paper on your garlic, so don’t leave it for too long if you want your garlic completely covered.
Be sure to handle the bulbs gently to avoid bruising or damaging them. After harvesting, remove any excess dirt and debris from the bulbs, and then rinse them in cool water. Allow the bulbs to dry thoroughly before moving on to the next step.
Alternately, you can leave the soil debris on the garlic (lightly dusted off) before hanging and it will fall off naturally and almost completely while it cures. There is no need to cut the roots off as these will be a good indicator that your garlic is completely cured.
Step 2: Prepare the Garlic for Drying
This step will depend on how your plan to cure the garlic. If you are hanging the garlic, braid or tie the garlic into groups of approximately 5-10 bulbs. You can use string or twine, but anything works in a pinch. We’ve even used rubberbands before! If you are laying them flat, make sure they are on a surface that breathes and put them closely by not on top of each other.
Step 3: Air Dry the Garlic
For this step, you want a cool, dry place with lots of good air circulation. A well-ventilated room or a covered outdoor area is an ideal location. If your garlic is outdoors, a few extra days of rain will not hurt it, but an early monsoon season might slow it down or even encourage molding to start.
Step 4: Store the Dried Garlic
After a few weeks, your garlic should be fully dried and ready to store. The cloves should be hard and brittle to the touch. At this point, you can remove the cloves from the bunches and store them in an airtight container, such as a glass jar or plastic bag, if that is your preferred storage method. Be sure to label the container with the date and type of garlic, so you can keep track of when it was dried and how long it has been stored. Alternately, just store the garlic in a cool dark place in full bulbs. Dried garlic can be stored at room temperature for several months
Drying garlic is a simple and effective way to preserve this flavorful ingredient for long periods. By following these simple steps, you can ensure that you always have garlic on hand when you need it for your favorite recipes. So go ahead and give it a try – your taste buds (and your wallet) will thank you!
